

This post is also available in: Italian
Reading Time: 4 minutesIn the previous post, I’ve described how using the vCenter plugin to deploy the couple of StorMagic VSA. It’s just one way and maybe not the fastest way (automation in this case can be the best). But it’s one of the simplest way.
After this step you have the VSA ready with they storage resources and you have to build a shared datastore by making a synchronous of two local resources. Easy to say, lot of step di build this (also because you have to mount the datastore in the hosts).
In this case I think that the integration with vCenter will really help a lot and permit to avoid common errors and configuration mistakes.
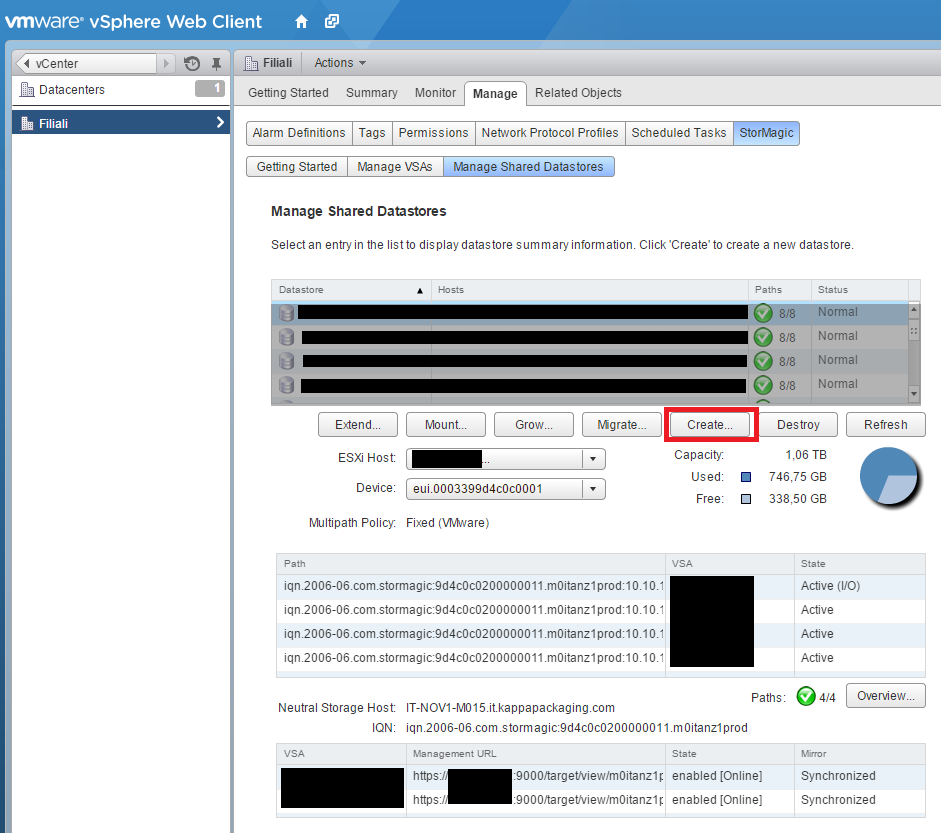
As usual you have to start from the datacenter view, in the manage tab and in the specific StorMagic integration plugin. Here you have a Manage Shared Datastores wizard that can help both in monitoring the existing datastores and also create new one:
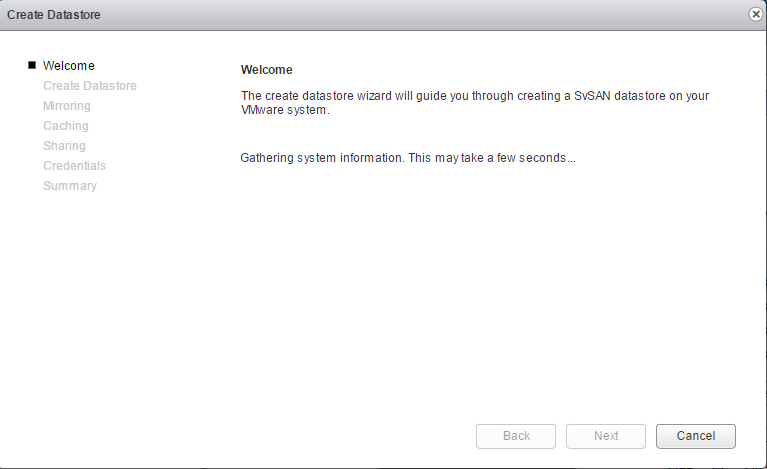
 The wizard start with a welcome page:
An then the create datastore page, where you can choose the datastore name. Note that you cannot (at this point) use several characters like the minus, but don’t worry if you have a strict naming convention: just accept a simple name and after the datastore is created just rename it from vCenter and StorMagic will see the new name.
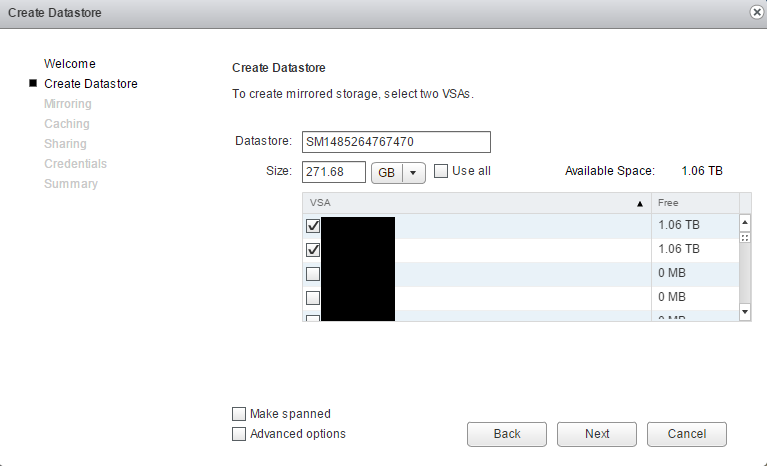 You can specify the size of the datastore: usually you will use all the space (StorMagic works well also with a single datastore, because the access is active-actice), but sometimes you may need more datastores.
Also you must select the right VSA with enough available space (this should be licensed space, because StorMagic is licensed per 2TB). Other existing and configured VSAs will probably have just 0MB of free space.
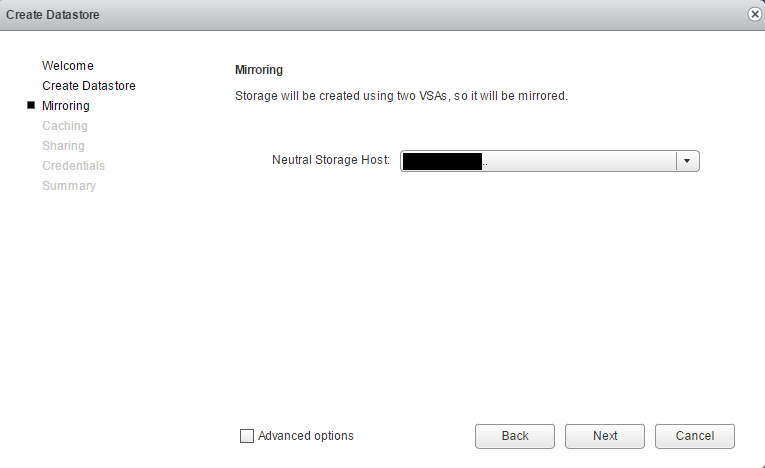
Then in a two nodes configuration you need to specify the Neutral Storage Host (NSH) that is used to avoid the split brain scenario (it’s a like quorun or withness). It can be installed in the vCenter host, it can be one for multiple StorMagic clusters, but can also be installed on specific Windows or Linux systems.
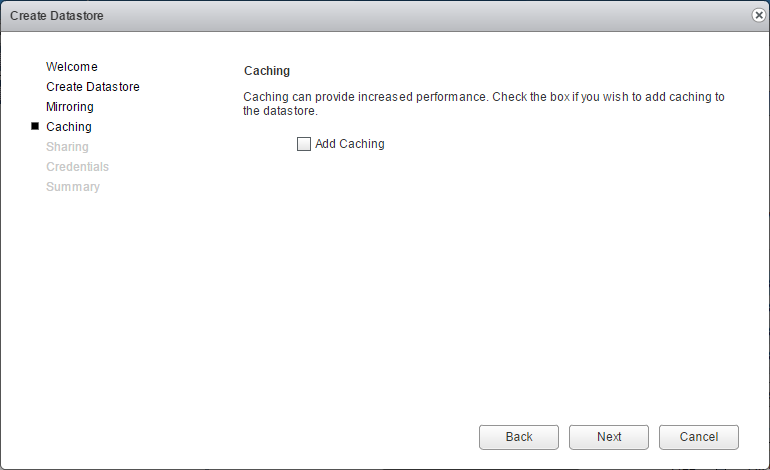
 Then you can specific a caching resource. As writte in the previous post, this part has changed and improved from version 5 to version 6 of the product (where now is available also write cache, but only on the highest edition).
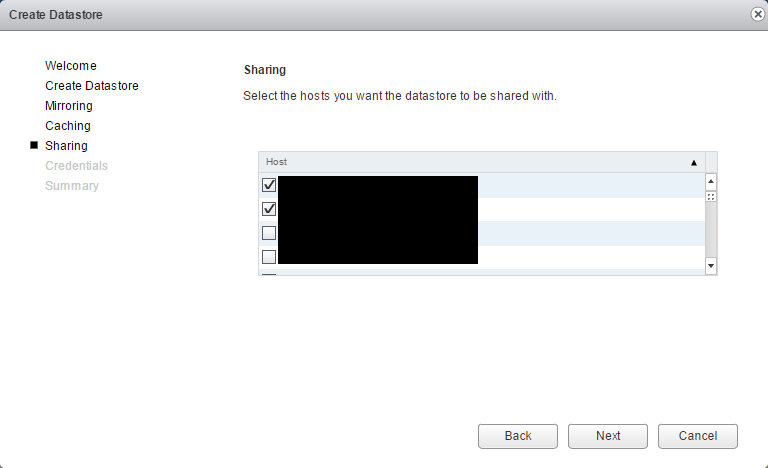
Then you have to choose the ESXi host where you want to mount the new shared storage (it will be presented as an iSCSI storage). This part is really important, not only because it will mount and format the datastore, but also because it will set the right multi-path configuration (to gain benefit from the data locality you need to use one of the path direct to the local storage).
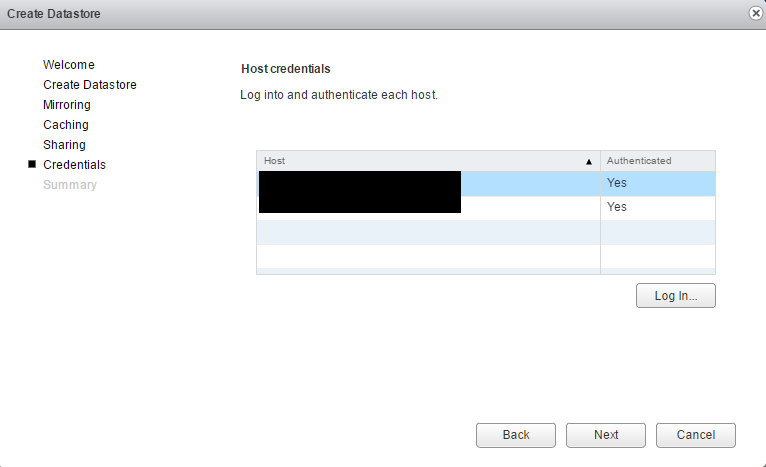
You need the root access to each ESXi host during this phase and the next page will verifiy if you have this access:
 At this point all it’s ready and you can simple confirm the creation:
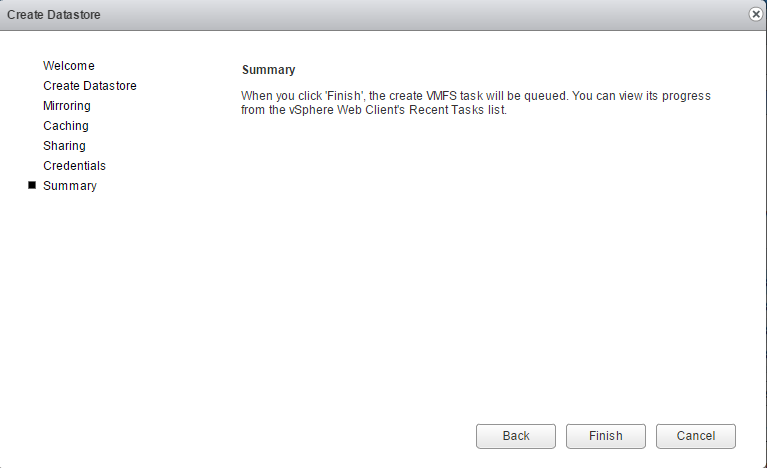
As you can see it’s very simple, it also takes time after you press finish (more than 5 minutes) but it’s automatic and, if you have deploy the VSA correctly, without issues. After that you will have a shared storage usable as a normal vSphere block datastore.

Related Posts
Andrea Mauro
Virtualization, Cloud and Storage Architect. Tech Field delegate. VMUG IT Co-Founder and board member. VMware VMTN Moderator and vExpert 2010-24. Dell TechCenter Rockstar 2014-15. Microsoft MVP 2014-16. Veeam Vanguard 2015-23. Nutanix NTC 2014-20. Several certifications including: VCDX-DCV, VCP-DCV/DT/Cloud, VCAP-DCA/DCD/CIA/CID/DTA/DTD, MCSA, MCSE, MCITP, CCA, NPP.
