In previous post we have described the installation of opvizor agent. After this step a configuration is needed in order to start the data collection.
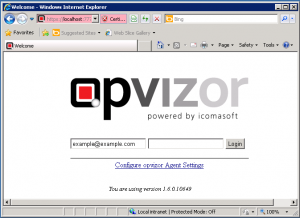
Configuration could be started after the installation phase or simple by open the browser on the local server web (and by choosing the Configure opvizor Agent Settings):
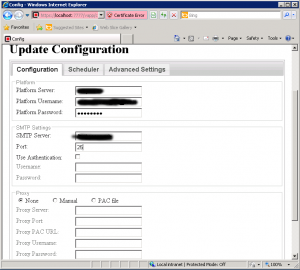
Basically you need to specify the opvizor data (platform server is opvizor.com) included your user account credential. Also you can configure the email and proxy settings:
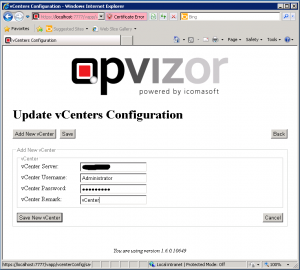
Then you have to specify the vCenter Server configuration and credentials:
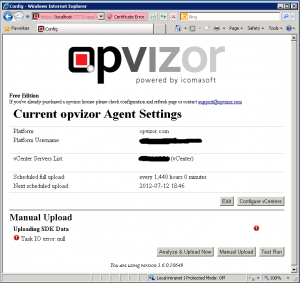
Finally you can review the data and start the first data collection:
Data collection could be started manually or with Analyze & Upload Now (or Test Run) or by manually transfer the data (with Manual Upload button). If all is fine you must see something like this:
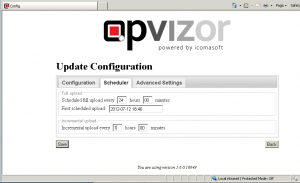
Now you can schedule the frequency of the data upload:
![]() At this point you can start using the tool by simple click on the desktop icon, or by working with the local web server or by simple open and logon in the opvizor.com web site (in all cases you will use this pages).
At this point you can start using the tool by simple click on the desktop icon, or by working with the local web server or by simple open and logon in the opvizor.com web site (in all cases you will use this pages).
Note that the opvizor agent will send an email on each manual upload. But also it will generate period report (each week) with a summary of your enviroment and your cases. This is just the first part of the email:
Issues per Upload
| Upload Date | New | Opened | Reopened | Closed |
|---|---|---|---|---|
| 2012.07.02 12:37:38 | 123 | 101 | 3 | 1 |
| 2012.07.02 11:48:03 | 0 | 99 | 1 | 3 |
| 2012.07.02 10:54:03 | 12 | 90 | 0 | 1 |
| 2012.07.02 10:51:27 | 8 | 86 | 0 | 2 |
| 2012.07.02 10:20:15 | 0 | 217 | 0 | 0 |
| 2012.07.02 10:18:40 | 217 | 0 | 0 | 0 |


