


In the previous post I’ve introduced the Altaro’s VM backup solution, started with a Hyper-V only product, now is becoming a multi-hypervisor product that support also VMware vSphere (up to version 6.0). As mentioned previously, their original product was also renamed to Altaro VM Backup (from Altaro Hyper-V Backup).
To manage backup configuration and jobs you need a Windows machine that can be either:
- Windows Server 2008 R2, 2012 and 2012 R2
- Windows 7 (64-bit) and 8 (64-bit)
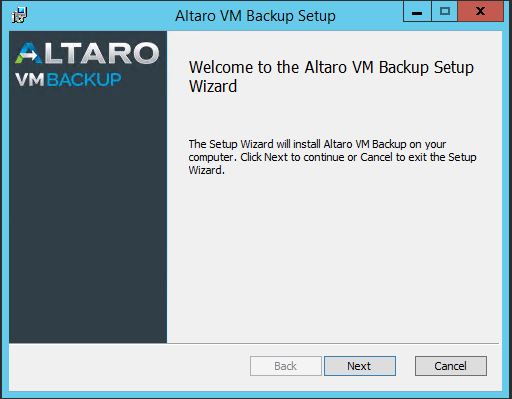
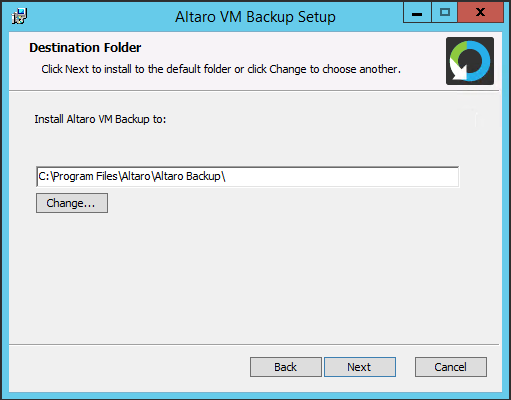
The installation is quite easy: you have a single EXE file to run and few windows to have the product installed.
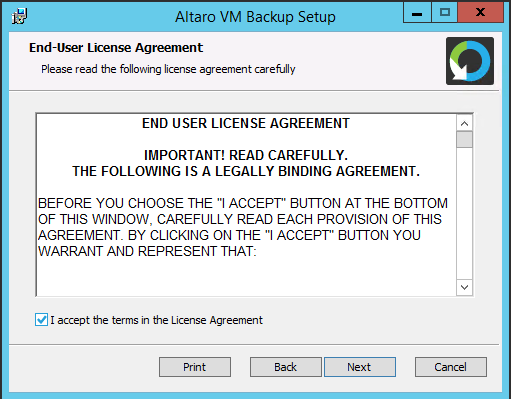
After the EULA you have only to decide where install all the components and then you have finish the installation phase.
You can run the console directly after the install:

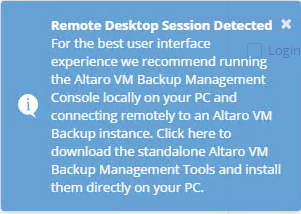
Note that the console is designed to run on a local machine: seems a web HTML5 page but it’s an own Windows application and if you run it on a remote desktop session you will see this warning message:
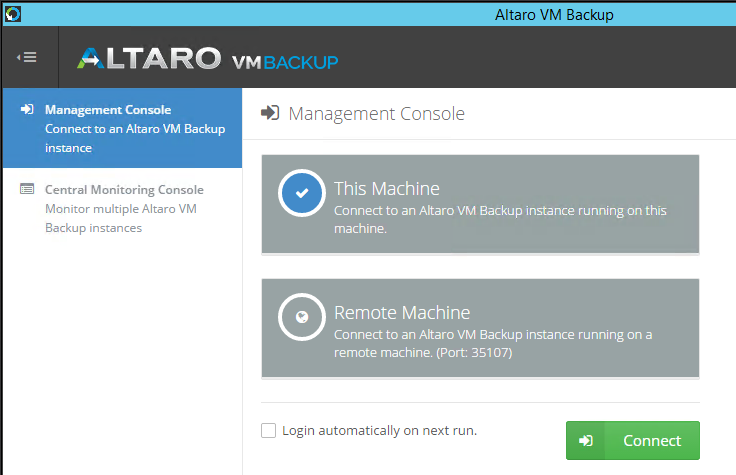
Altaro Console can work client-server (using TCP 35107) so you can manage locally or remotely, or also multiple Altaro VM Backup instances:
Actually, during the installation, you cannot choose to install ONLY the console part, but maybe this option will be added in the final product or in future release.
Having a Windows based console could be a limit for some aspects (if you are using multiple devices or multiple client OSes), but seems working also over RDP, so at least you can use it from the Altaro VM Backup instance.
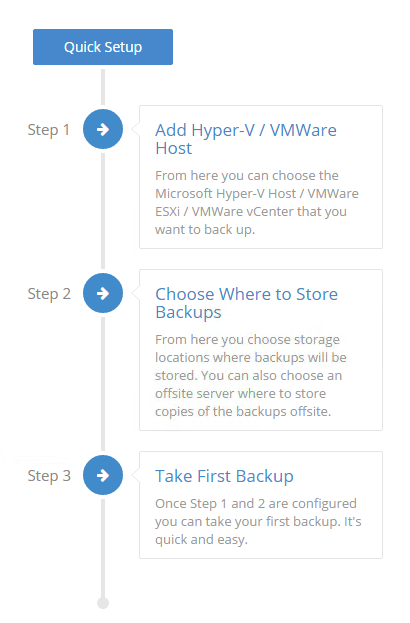
The setup is quite easy and can be wizard oriented with three simple steps:
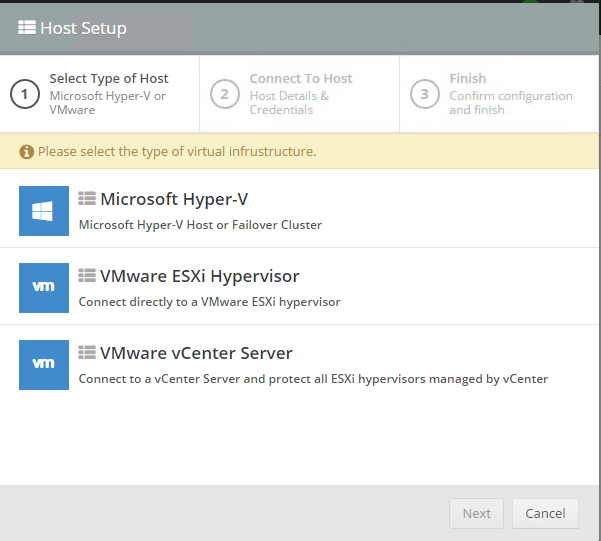
First step is add the hypervisor infrastructure: you can add and Hyper-V hosts, ESXi hosts (yes it can manage them directly) or a vCenter Server:
Adding a vCenter Server is quite easy with also a test connection button and details on port settings and a final overview of the discovered infrastructure:

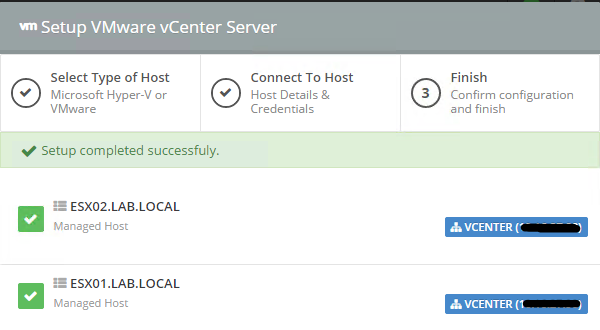
After the first steps not only the hosts are discovered, but will start also a VM discovery.
Now you can continue for step two where you have to specify the backup destination: local disks (or block based disks that can be connected to a Windows machine, like iSCSI, FC disks) or network share (SMB/CIFS):

You can have multiple destinations, but for each VM you can only assign (using drag&drop) one primary destination:

If you need a second copy you can add an off-side support or location (for a remote site, you will need a local Altaro VM Backup instance to manage it). Off-site options are actually physical drives, removable drives and drive based cartridges, network shares, and a Altaro VM Backup instance.
If you assign all the VMs to the destination, than the step three (take the backup) will be quite easy: you have just to select the VMs and run the backup. In this way you run manually the first backup (and each backup that you need).
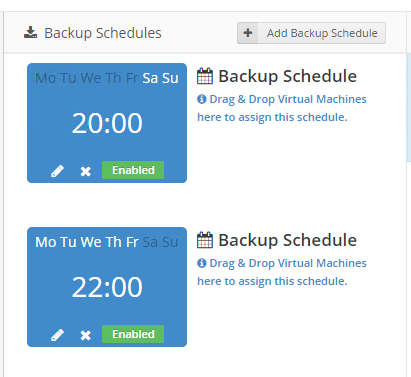
But the best way is go to scheduler and add your VMs to a Backup Schedule: two schedules are already prepared (both at 20:00 but one on week-ends and one from Mon to Fri).
Note that compared to other backup products you are not working with a backup policy or backup jobs with all the options inside. In this products, schedules, retentions, VSS settings are in separated screen. A different approach, but with some benefits: VSS settings are globally and you have a single point to view all your on-site and off-site retentions.
By default backup are compressed, but using the advanced options you can choose to disable the compression or enable the encryption (you can also exclude some virtual disks from the backup).
Of course this approach is not suitable for complex policies, but remember that the main product target is the SMB segment where usually the policies are pretty simple!
Restore options at this point are quite simple: VM restore or granular restore, but actually limited to a File Level Restore (only for Windows VM) or Exchange Item Level Restore.
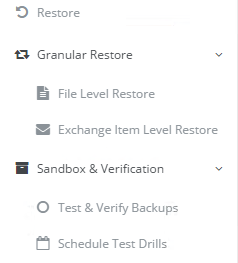
The restore could be improved and become VM centric: actually it’s guided starting only from the destination. Also the file level restore could be changed to add not only the disk and partition numbers, but also the drive letters or volume labels.
It’s really interesting the Sandbox & Verification options: you can verify the backup in two different ways. One easy is just a backup file integrity check (in my option this is better that is integrated in the backup process, because backup data MUST be always safe and not corrupted). The second one is more complex and will not only extract the virtual disks, but also tests that the VM can boot (actually it cannot verify the application consistency, but it’s an interesting first step).
The product is really simple and easy to install and the UI is almost fast and smart and drag&drop based (maybe an auto-save option could be better, from my point of view). The product could appear simple (and it is, for example there isn’t a real database instance for the catalog and backup metadata!), but in the real it’s quite powerful with several features (that can match most of the SMB requirements).

Related Posts
Andrea Mauro
Virtualization, Cloud and Storage Architect. Tech Field delegate. VMUG IT Co-Founder and board member. VMware VMTN Moderator and vExpert 2010-24. Dell TechCenter Rockstar 2014-15. Microsoft MVP 2014-16. Veeam Vanguard 2015-23. Nutanix NTC 2014-20. Several certifications including: VCDX-DCV, VCP-DCV/DT/Cloud, VCAP-DCA/DCD/CIA/CID/DTA/DTD, MCSA, MCSE, MCITP, CCA, NPP.
