In the previous post I’ve described the NexentaVSA for View architecture and the files included in the download packages. The deployment, installation and configuration is not a simple and immediate step, but is well described in the Installation Guide and also on this video.
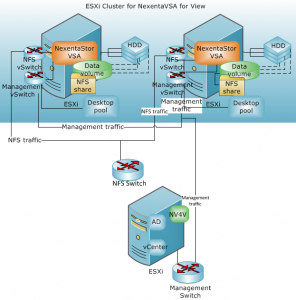 There are several requirements for the vSphere datacenter (the NexentaVSA for View environment requires a separate datacenter for each ESXi cluster), the VMware cluster (the NexentaVSA for View environment requires at least one ESXi cluster that contains one or more ESXi hosts, but must also be an empty cluster or are least without any virtual desktop already deployed), virtual networking (basically you need a NFS network, better if dedicated), for the NexentaStor VSA and virtual desktop templates (for virtual desktop remember to install VMware Tools, View Agent and NexentaVSA for View Agent), and so on. All requirements are well described in the Installation Guide (that include also a pre-installation checklist) but some part are betted described in the video. What is really important is that you build a dedicated VMware cluster for virtual desktop hosts (cluster configuration is adjusted automatically by the management part). Also virtual networking configuration is mandatory (unless you have only a single ESXi host).
 The installation of the NexentaVSA for View Management Appliance (based on an Linux Ubuntu distribution with credential root/nexenta) is quite simple (just an OVF deployment), but again there are several requirements.
The NexentaVSA for View Management Appliance should be located on the management ESXi host (or a management cluster). NexentaVSA for View Management Appliance requires full network access to all components and must have administrative privileges to vCenter and View Connection Server.
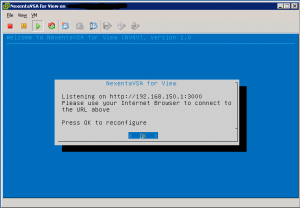
When the VM has been deployed (it will use 1 vCPU, 2 GB of vRAM and 20GB of storage) you can enter in the console to fix networking (by default is in DHCP) and timezone (if needed) and then run the Configuration Wizard.
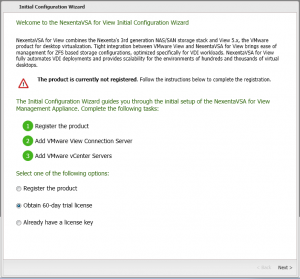 To enter the Configuration Wizard you simple need a browser (also Chrome 12 and later is supported) to connect to the http://IP:3000 URL (as also prometed on the console).
The main tasks are the product registration, the configuration of the connection to View Connection Server and the configuration to vCenter Server.
Note that on the View Connection Server you must:
- Activate the View Power CLI (by open the View Power CLI as Administrator and type the command “Set-ExecutionPolicy RemoteSigned”).
- Install the NexentaVSA for View Server Agent.
Only in this way you will able to connect your View Connection Server (otherwise you will get a generic connection refused error).
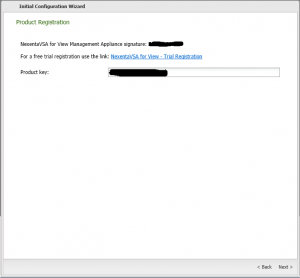
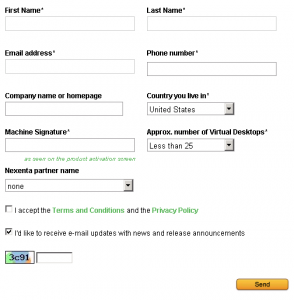
In order to register the product you need a valid Product key, also for the trial version.
To receive the product key you must use the “Virtual Appliance Signature” (prompted in the registration page of the VA) to fill the “Machine Signature” field in the online registration.
The registration procedure maybe could be improved in future version to become more simplest, as also the overhall setup of the infrastructure. But again, the Installation Guide is quite detailed and well done and could really help in a good and successful deployment.


